أحدث العقارات المضافة
أبرز المولات
أركان مول
مول اركان، تعكس مساحاتنا التجارية التزامنا بالجودة والابتكار وتجربة ال...
المطور: أركان القابضة للتطوير
معرفة المزيد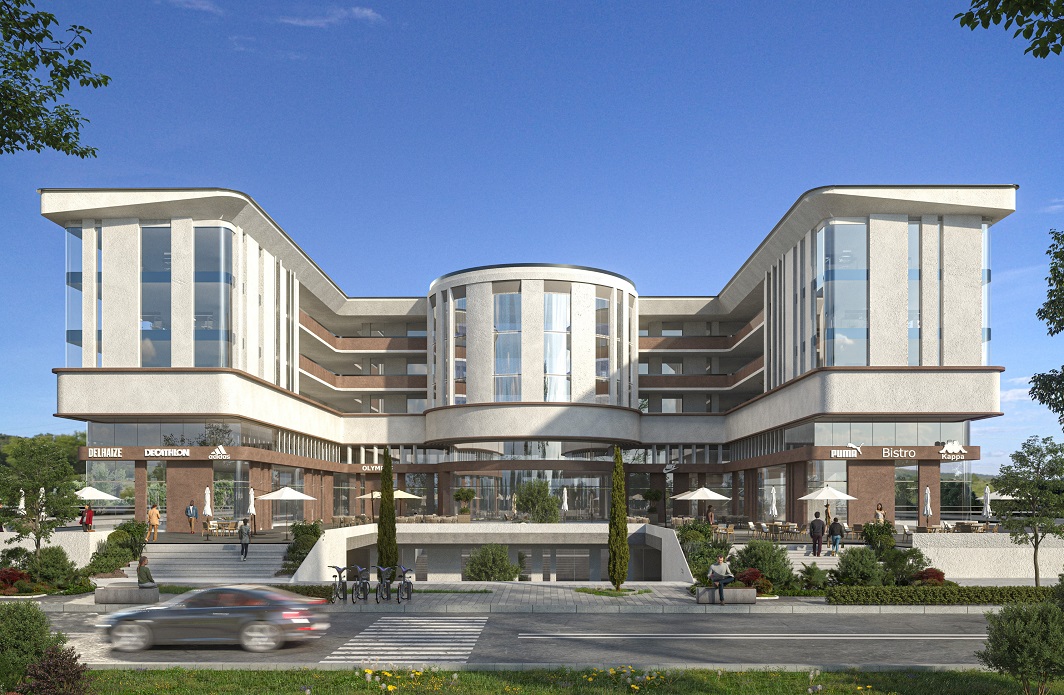
رديسي مول
عكس مساحاتنا التجارية التزامنا بالجودة والابتكار وتجربة العملاء. تم تص...
المطور: أركان القابضة للتطوير
معرفة المزيد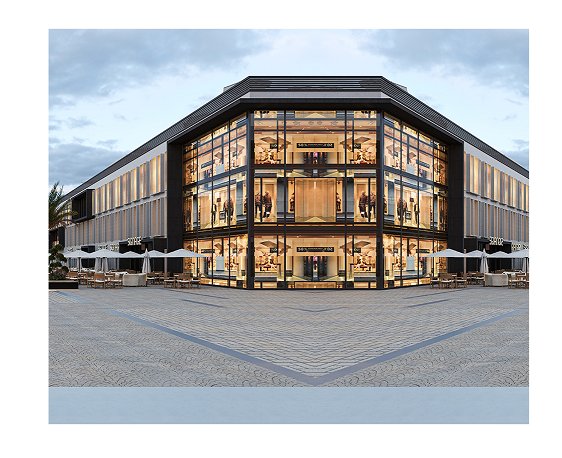
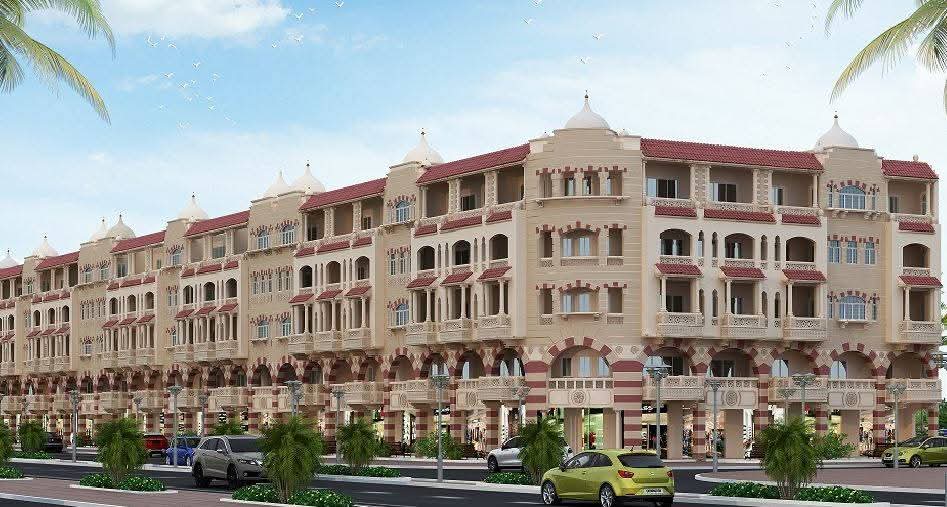
The Palace مول في الشروق
ذا بالاس مول في الشروق من أهم المولات الموجودة في مدينة الشروق الواقعة...
المطور: شركة دار للتنمية والتطوير العقاري
معرفة المزيدأبرز مشروعات المطورين

تسلا ريزيدنس
يمتد مشروع Tesla Residence على مساحة 109,200 متر مربع في غرب القاهرة، ...
مدينة ٦اكتوبر
معرفة المزيد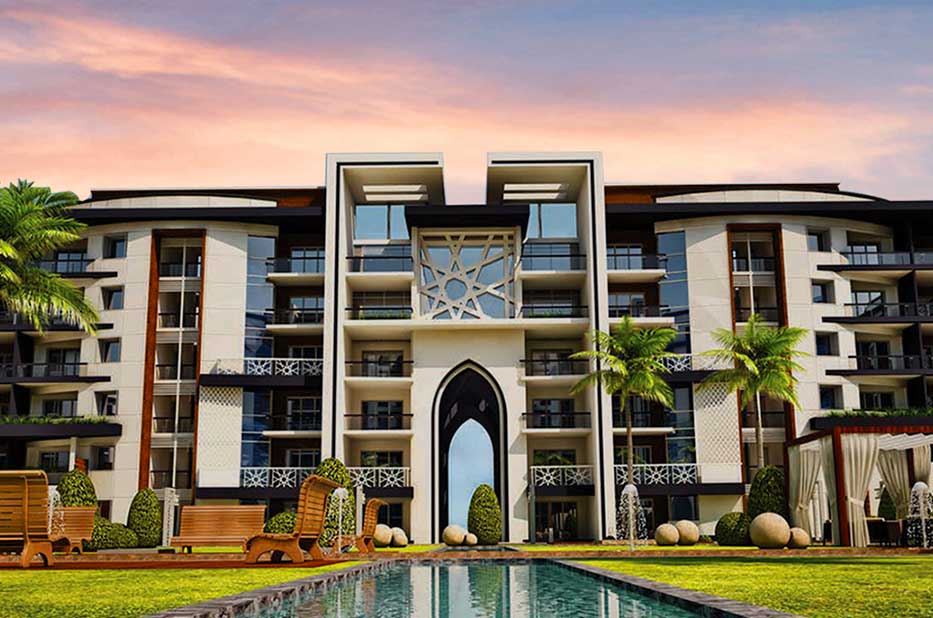
كوربة هايتس
كوربة هايتس كمبوند متكامل الخدمات في قلب مدينة هليوبوليس الجديدة تم ت...
هليوبوليس الجديدة
معرفة المزيد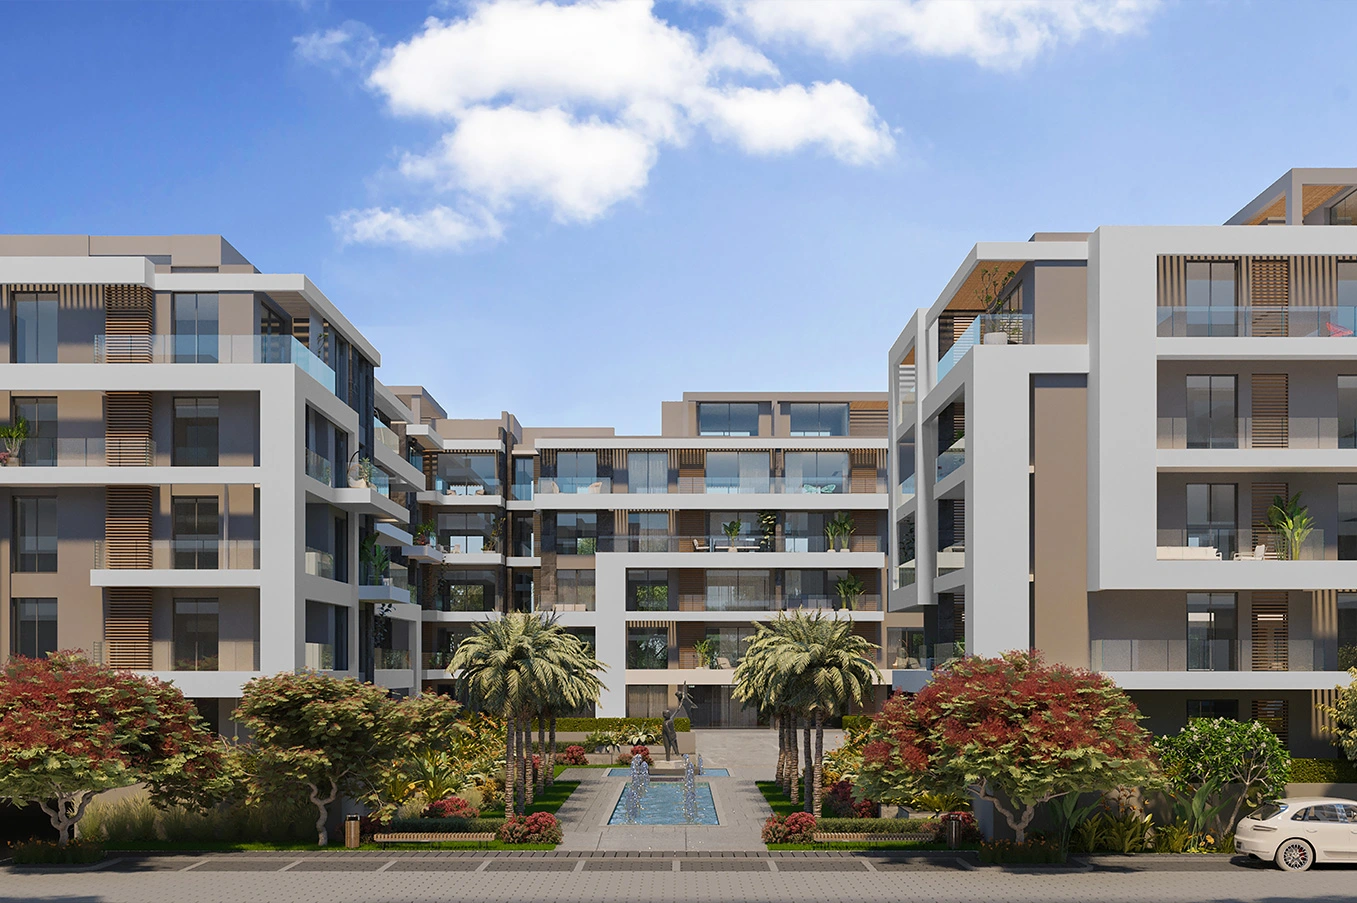
الباتيو سولا
ارتبط اسم شركة لافيستا للتطوير العقاري بالتميز والرقي، حيث امتلكت قدرة...
مدينة الشروق
معرفة المزيدآخر المقالات الصحفية
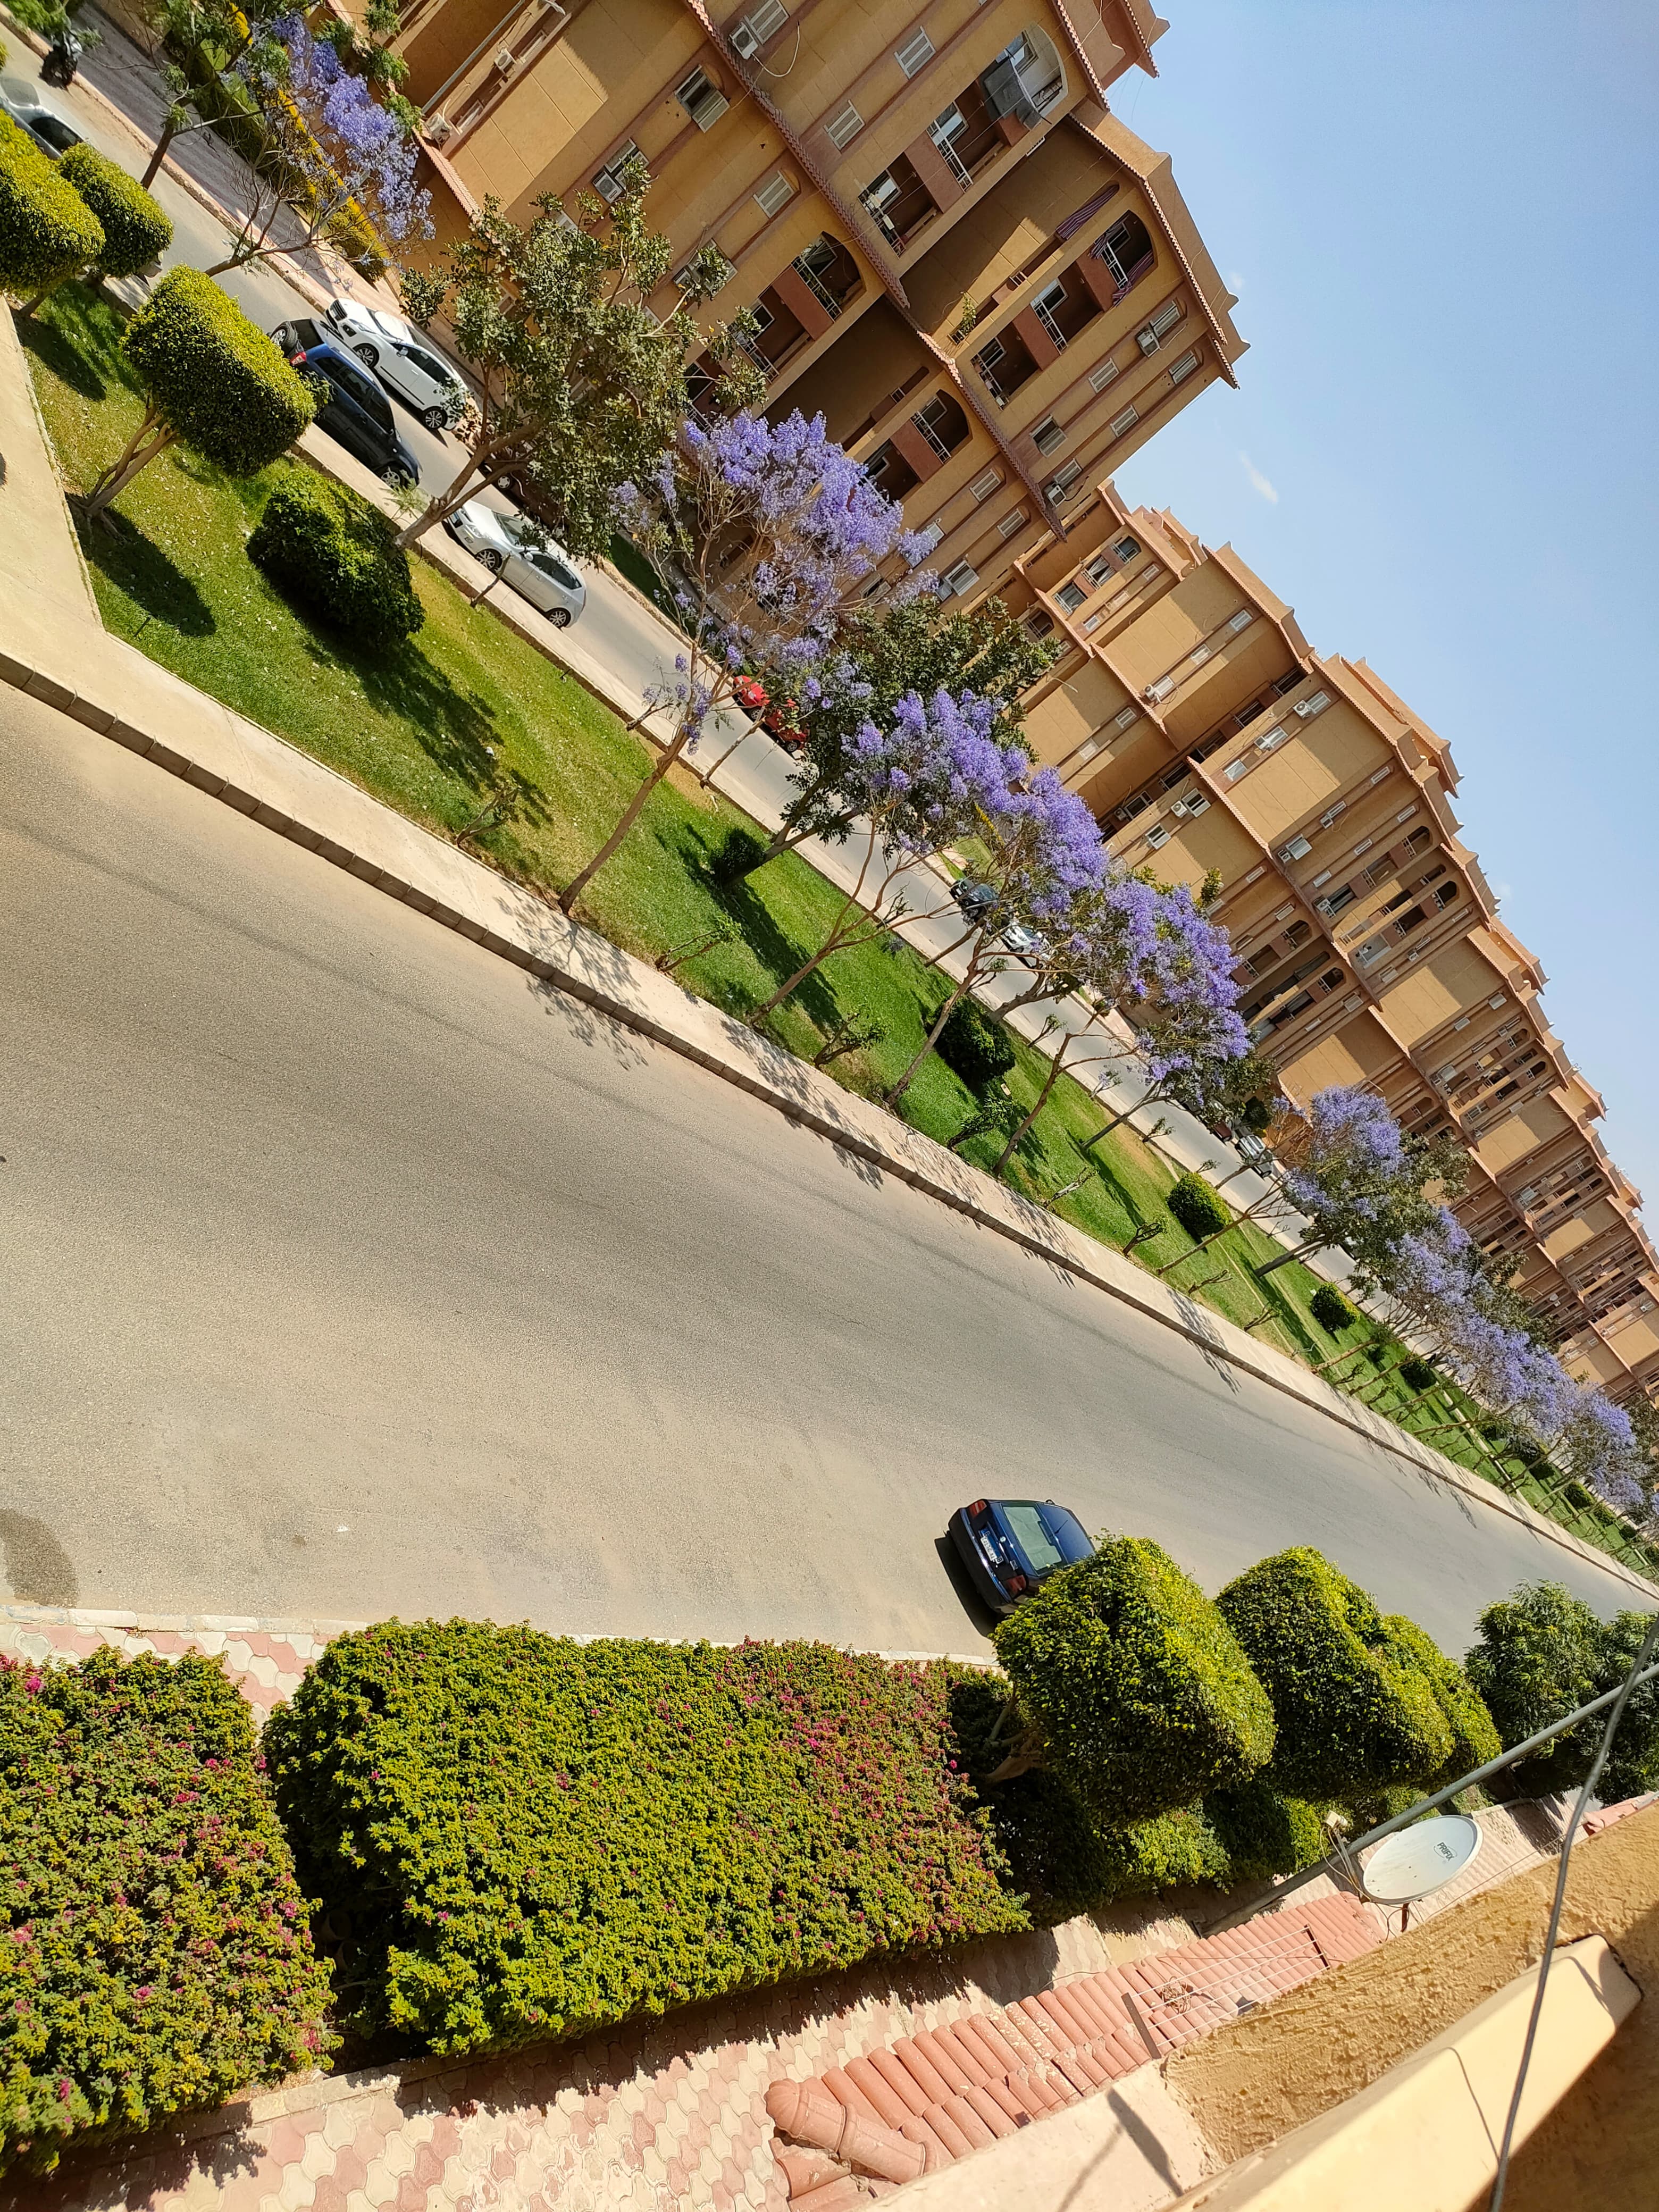
هليوبوليس الجديدة: واحة الرفاهية واستثمار المستقبل في مصر
مدينة هليوبوليس الجديدة: واحة الرفاهية واستثمار المستقبل في مصرتعتبر مدينة هليوبوليس الجديدة (نيو هل...

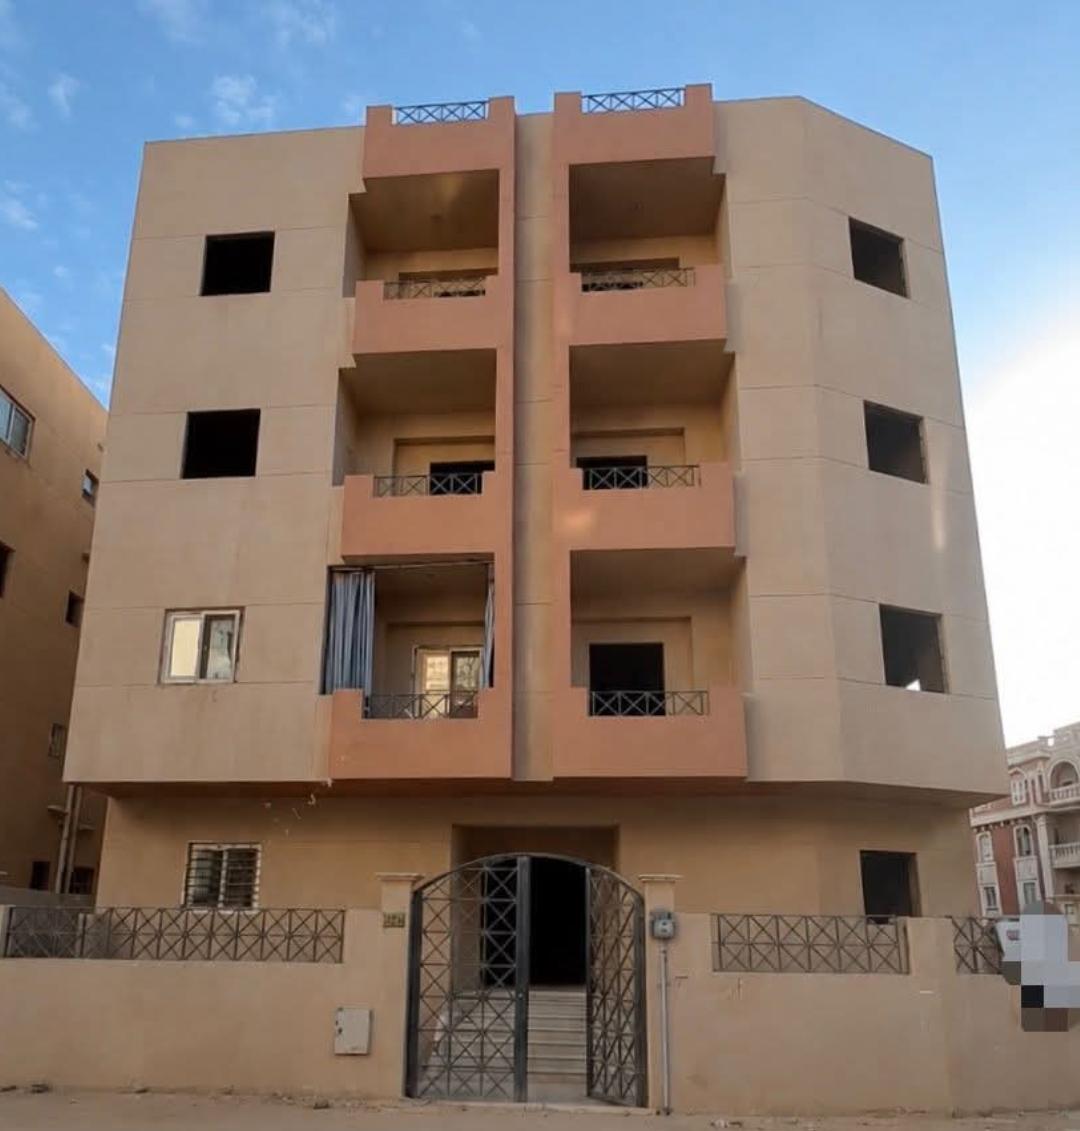
مزايا مدن الجيل الرابع في مصر
مدن الجيل الرابع في مصر: بوابة الرفاهية وملاذ الاستثمار الآمن 2025لماذا يتسابق المستثمرون والعائلات ...

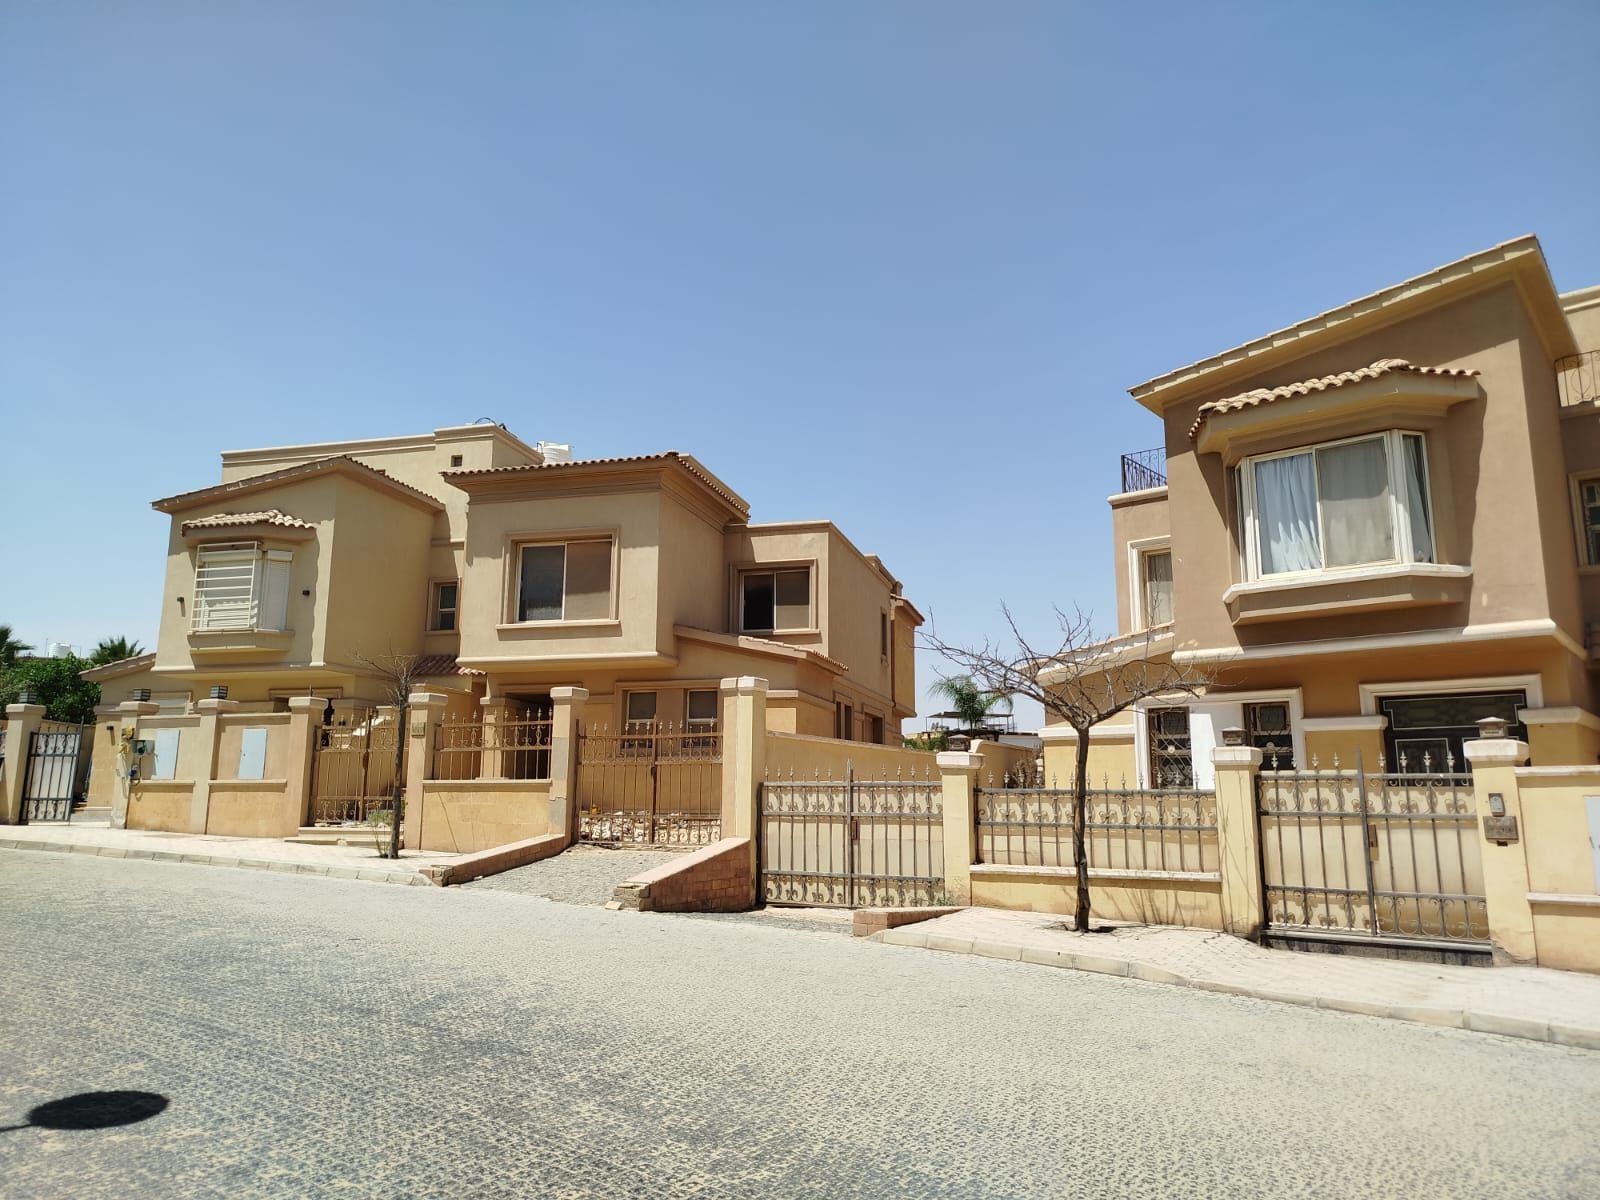
مزايا المعيشة في المدن الجديدة في مصر… إستعراض لعام 2026
مميزات للمعيشة في الشقق الفاخرةظهرت الشقق الفاخرة كقيمة للحياة الفخمة، حيث توفر للسكان مزيجًا ...